
The best part about making it at home is that it’s significantly less expensive and doesn’t require having to purchase new bottles each time. Sure, ginger beer is usually bottled in glass, and glass is recyclable. But recycling anything still requires energy and clean water to process, so making ginger beer at home will certainly help reduce your recycling output.
For video instructions, check out our recipe on
Zero Waste TV:
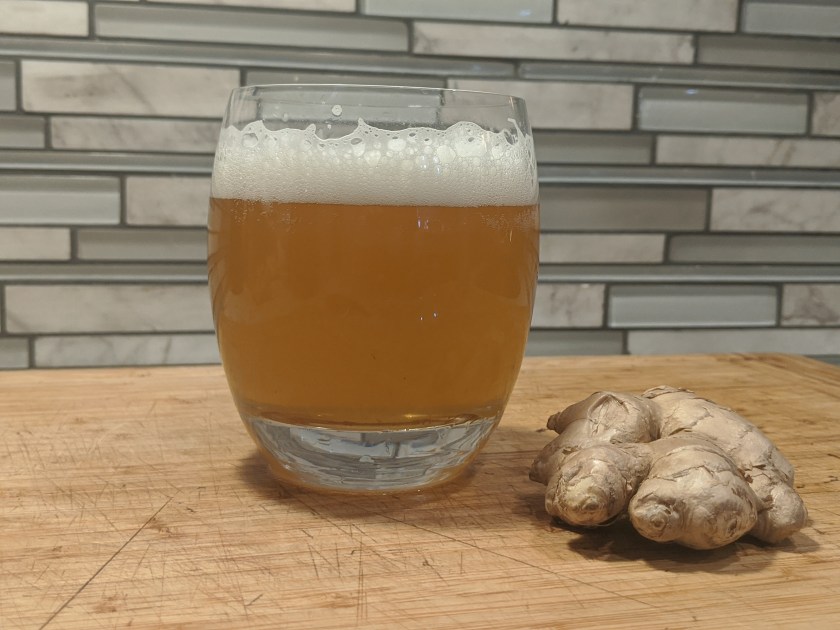
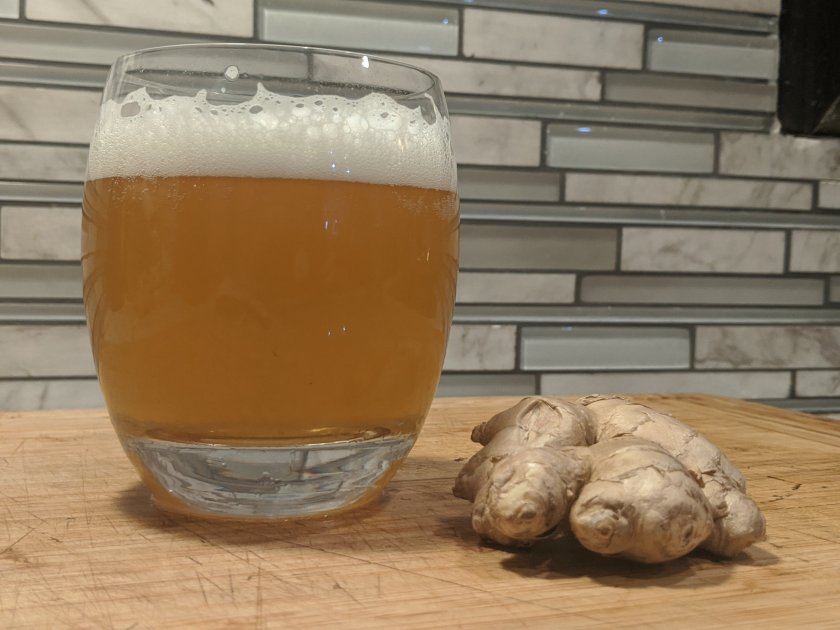
Ginger Beer
This recipe is dedicated to Alyssa J.
I am so excited to share this recipe because it was so easy! And relative to canned ginger beer, it’s crazy inexpensive to make.
Unfortunately, the top recipes I could find all seemed to say something a little different… Which therefore lead to more trial and error than I would’ve hoped for. But the good news is, I learned from my mistakes and have a much stronger recipe. Techniques that, in my opinion, other recipes had left out that were really vital to the process.
Let’s break down the pros and cons:
Pros:
- Have ginger beer on hand 24/7 at a fraction of the cost of canned ginger beer.
- You have full control over the sugar content and flavors
- You can make it organic (organic ginger beer is surprisingly hard for me to find)
Cons:
- To keep the ginger beer going, it takes about 5 minutes of manual labor every day. Similar to kombucha or sourdough, you need to keep a “Starter culture” alive. It’s called a ginger bug.
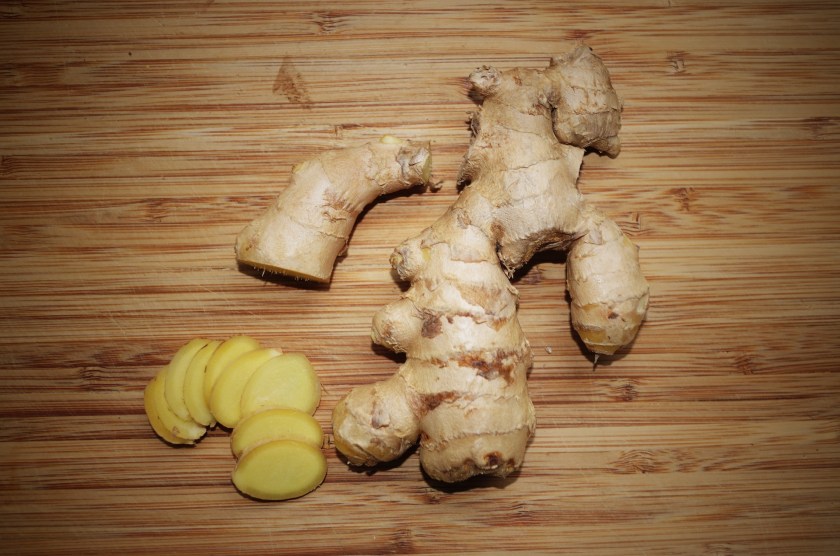
- You need to keep a regular supply of ginger on hand. This recipe requires about 2 tablespoons of chopped ginger (skin on, so don’t worry about peeling it) every day. For that matter, you’ll also need to keep sugar on hand, as it also requires 2 tablespoons of that per day.

Fizzzzzzzzzzzz
For me, the pros outweighed the cons. I went an entire 48 hours having forgotten to feed my ginger bug, and it was still fine. Just make sure you use cheese cloth to cover it in order to prevent and flies or yuckies from getting into the jar and contaminating it.
And if worse comes to worse, say you forget to feed the starter bug and it goes bad, or you have to go away for a few days and can’t feed it…. it’s not a big deal. Just compost the liquid and start again when you return home or are ready to commit to it again. It only takes 2-3 days for the ginger bug to become active, so it’s not the end of the world if you have to start over.
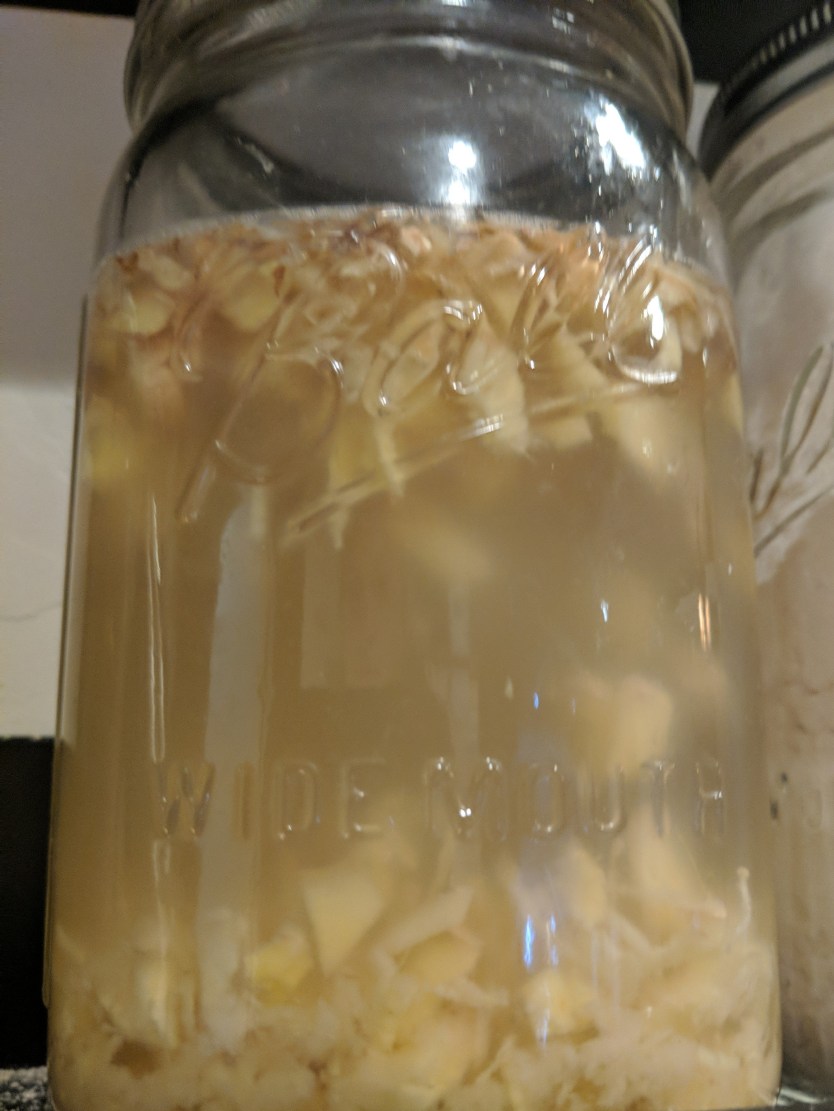
Ginger Bug Recipe:
- 2 tablespoons organic ginger, skin on, finely chopped.**
- 2 tablespoons sugar
- 2 cups of water, room temperature
Directions:
In a 64 ounce mason jar (or something similar in size) pour in the sugar and water and stir until dissolve.
Next, pour in finely chopped ginger and give it another quick stir. Then seal with cheese cloth and a rubber band/tie, or with the cap of the mason jar. The contents must be able to breathe, but you want to prevent any flies from contaminating it. So whatever material you think will do the job, give it a try. ( I don’t recommend using a sprouting lid as I have heard stories of flies being able to get through them. Do so with caution!)
**Do not wash the ginger for this recipe. You want the naturally occurring yeast found on the ginger’s skin, which is similarly why you shouldn’t peel the ginger either, you want the skin in the liquid. This is why I recommend organic ginger, as regular ginger contains pesticides and should be washed.
Store the jar at room temperature and feed it the same amount of chopped ginger and sugar (2 tablespoons of each) every 24 hours.
After 2-3 days, you will see fizzy carbonation on the surface of the liquid. Once it looks fizzy, you’re ready for the next step:
Ginger Beer Ingredients (makes 2 quarts):
- 8 cups of water, filtered
- 1/2 cup of ginger, processed, or chopped finely – skin okay.
- 1 and 1/2 cups of sugar (you can reduce it to 3/4 cup or up to 2 cups, depending on your personal preference for sweetness)
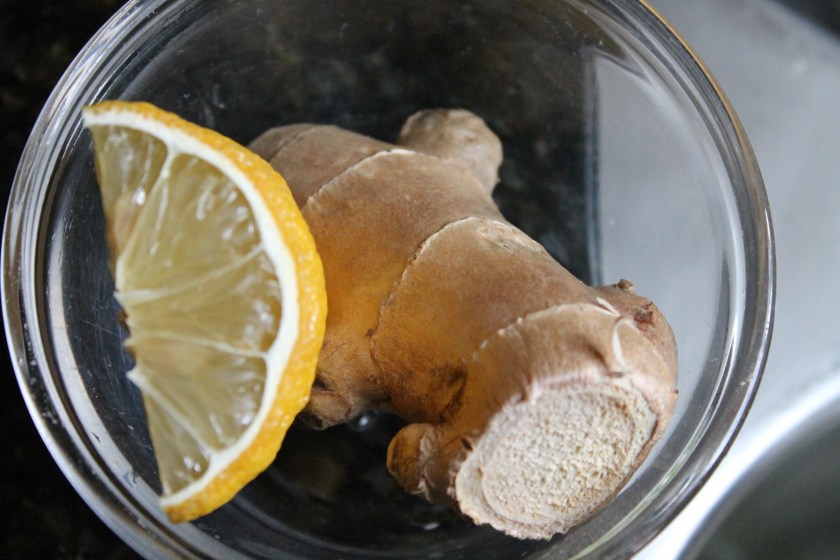
- 1/2 cup ginger bug liquid, strained
- 4 tablespoons of lemon juice
To prepare the ginger for the ginger beer, you can chop it finely as you were doing for the ginger bug, or you can use a food processor and really get a fine ginger paste. If you process it, the ginger flavor will be a lot more intense, which I prefer.
It’s like a slap in the face and a “How do you do?”
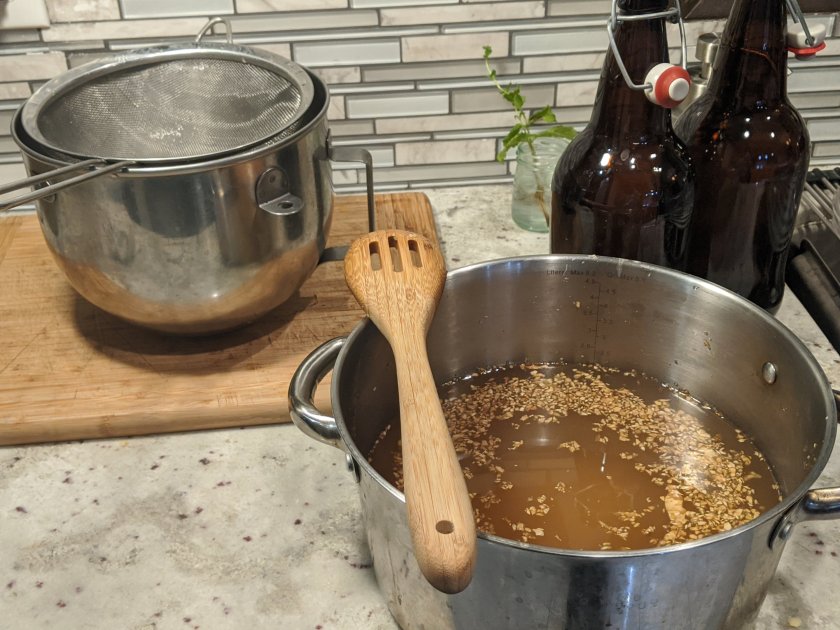
In a cooking pot, bring the water to a boil, and stir in sugar until dissolved. Mix int ginger and reduce heat to a simmer. Simmer for 10 minutes, then remove the pot from heat, and allow the liquid to return to room temperature (between 78-88F) – this is very important! If the liquid is too hot, you’ll kill the ginger bug. If it’s too cold, you’ll shock it.
Once the liquid has reached room temperature, mix in the lemon juice and finally, 1/2 cup ginger bug (strained).
Now strain the liquid entirely of any ginger chunks or skin, and bottle. Burp the bottles (in a sink) every 24 hours to release gas. This is incredibly important. If you forget, they could explode. Awesome.
Depending on how fizzy and flavor-intense you like your ginger beer, you will want to wait anywhere from 6 days to 2 weeks before serving – or popping the bottles into the fridge. I usually find that 9-12 days is perfect for my taste!
For video instructions, check out our recipe on
Zero Waste TV:
Bottling How To’s:
1.) Firstly, do no try to sanitize the bottles with antibacterial soap or alcohol which could kill the ginger bug. I boiled a pot of water and placed my glass jars in them for 10 minutes, then carefully removed them and allowed them to cool completely before using.
2.) It doesn’t really matter what kind of bottle you use as long as they’re air tight when sealed. You can use glass bottles with stoppers, reused kombucha bottles with screw on lids, or even mason jars with metal lids. If you have the ability to cap glass bottles, go for it! Just make sure the bottles are rinsed out and clean (See 1. )
3.) When filling, you want to leave between 1/2 and 1 inch of room from the top. Any more than an inch from the top and the ginger beer will take much longer to carbonate. Any less and the ginger beer will carbonate too much and will volcano all over the kitchen when burped.
Ginger pieces:
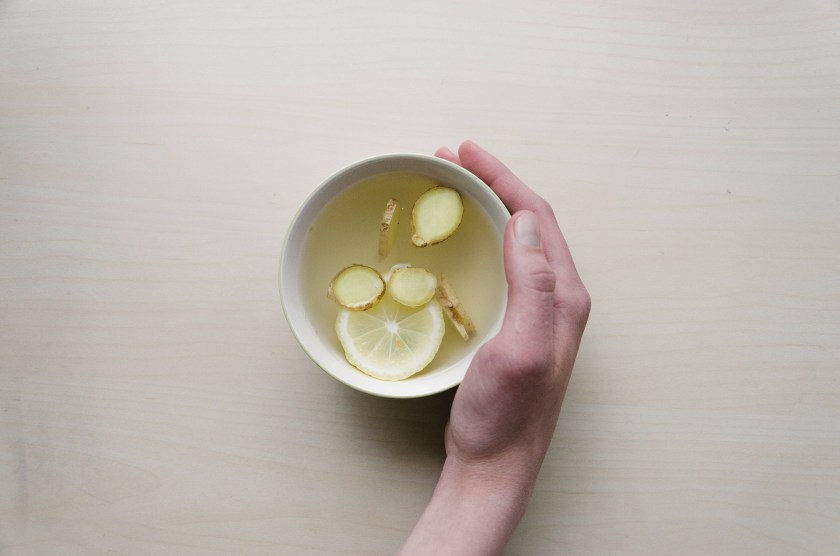
I love to take the remaining ginger pieces, that are soaked with sugar, and brew them into some tea. Just steep about a tablespoon or two in a cup of hot water with an optional slice of lemon for 10 minutes, strain, and enjoy!
Afterwards, the ginger pieces can be composted… even with the sugar!
FAQs:
Can pregnant women drink ginger beer?
Even though the alcohol content is low, there is still some alcohol that naturally occurs in the fermentation process (generally less than .5 percent). However, it’s recommend that pregnant women consume no alcohol during their pregnancy. Therefore, I do not recommend it. If you like ginger to help settle your tummy, try ginger tea. You can always make an alcohol-free ginger spritzer. Or better yet, ask your doctor what they recommend 🙂
